
Trencher Cutting Depth for Underground Utility Lines in Urban Construction
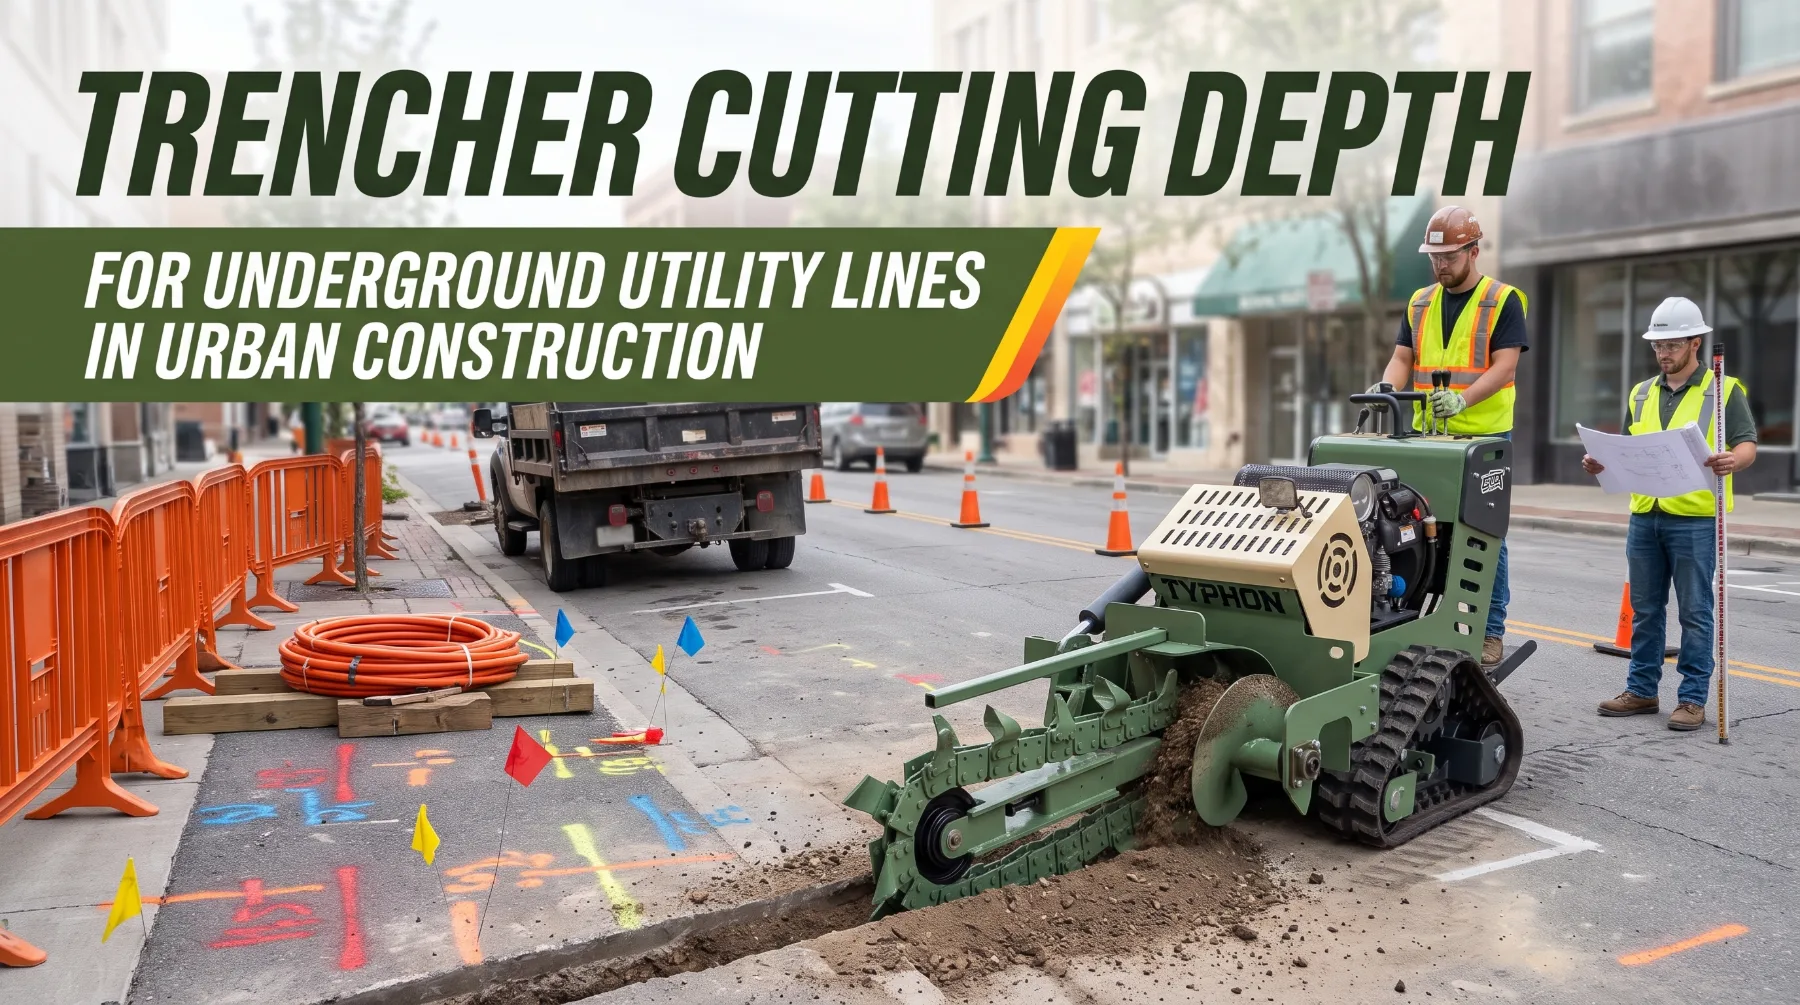
A contractor wins a bid to install new electrical conduit and a fiber line along three blocks of a downtown redevelopment. The drawings call for conduit at a set cover depth beneath a sidewalk, with fiber in a separate trench beside the curb. The rented trencher’s brochure lists a maximum depth well beyond the requirement, so the crew expects a smooth first day. The crew then finds an asphalt patch over old concrete, then a band of compacted fill full of brick fragments. After that, they reach an unmarked abandoned water line sitting exactly where the trench needs to go. By noon, the trench is shallow in some places and too deep in others, spoil is piling against a bus stop, and pedestrians are stepping into the street to get around the work zone.
Urban utility projects require trenches for water pipes, electrical conduits, communication cables, gas services, and drainage systems. Each installation has a required depth set by the project specification, the utility owner, and local regulations. A trencher’s published maximum depth is only the starting point. Real cutting depth depends on soil, surface conditions, machine setup, and the dense network of existing services beneath city streets. Width, spoil handling, and public safety matter just as much as depth on a restricted urban site. This guide explains how to plan each factor so your crews cut accurate trenches, protect existing utilities, and keep the public safe.
Confirm Required Utility Depth
Every trenching decision begins with the required depth. Before you select a machine, chain, or cutting method, confirm exactly how deep each utility must sit and what tolerance the project allows. Guessing at depth, or carrying a figure over from a previous job, is one of the most common causes of failed inspections and costly rework.
Start with the project drawings and specifications. They usually define the depth of cover, which is the distance from the finished surface to the top of the pipe or conduit. Some drawings instead list the invert elevation, the bottom of the pipe, or the trench bottom elevation. Know which reference your project uses, because confusing cover depth with trench depth can leave an installation several inches too shallow. Account for bedding beneath the utility, the outside diameter of the pipe or conduit, and any surface restoration layers that will be added above it.
Next, review the utility owner’s specifications. Water, sewer, gas, electric, and telecommunications providers each publish their own installation standards, and many set requirements stricter than general codes. Required depth varies by utility type, installation method, and location. Electrical conductors and conduit commonly follow minimum cover requirements in the National Electrical Code, which change with the wiring method, the type of conduit, and whether the run passes under a roadway, driveway, or sidewalk. Water lines are often placed below the local frost line to prevent freezing. Gas services follow the gas operator’s standards and federal pipeline safety requirements. Gravity drainage and sewer lines depend on slope and invert elevations rather than a single cover depth, which demands careful grade control along the full run.
Local regulations add another layer. Municipal right-of-way permits often specify depth, separation distances from other utilities, warning tape placement, backfill materials, and pavement restoration standards. Many cities also require horizontal and vertical separation between water and sewer lines, and between power and communication lines. Confirm these requirements with the permitting agency before work begins, and keep a copy of the approved permit on site.
Protection requirements can change depth along a single run. A conduit may need extra cover beneath a traffic lane, concrete encasement under a driveway, or a steel sleeve at a crossing. Mark these changes on your plans so operators know where depth must increase. When drawings, utility standards, and local rules conflict, resolve the conflict with the engineer of record or the utility owner before digging, and document the decision in writing.
Key takeaway: Confirm required depth from the project drawings, utility owner specifications, and local permits, understand whether figures refer to cover or trench depth, and resolve any conflicts in writing before excavation begins.
Compare Machine Maximum Depth
Once you know the required depth, compare it with the trencher’s capability. Every trencher lists a maximum cutting depth, and that figure is useful for narrowing your options. It is not a guarantee that the machine will reach that depth consistently along every foot of an urban trench.
Published maximum depth is usually measured under favorable conditions, such as firm, level ground and soil the machine cuts easily. On a real jobsite, several factors reduce usable depth. Boom angle affects how deep the chain reaches, and many trenchers lose depth when the boom can’t reach its full angle because of overhead clearance or machine position. Uneven surfaces, curb lines, crowned roadways, and sloped sidewalks change the distance between the machine and the trench bottom. Worn teeth and chain stretch reduce cutting efficiency at depth. Hard ground may force operators to cut in multiple passes rather than reaching full depth in one.
Leave practical margin. As a general rule, choose a trencher whose rated maximum depth comfortably exceeds your deepest requirement, rather than one that must run at its limit all day. A machine working at the edge of its capability cuts slower, wears faster, and has no room left when the ground dips or a utility crossing forces the trench deeper. Plan around the deepest section of the project, including any locations where protection requirements add extra cover.
Depth tolerance deserves close attention. Many projects specify an allowable range, such as a minimum cover depth with a limited amount of additional depth permitted. Cutting too shallow can fail inspection and leave the utility vulnerable to damage. Cutting too deep wastes time, adds backfill and compaction work, and can disturb the soil supporting nearby structures and utilities. Ask how each trencher controls depth. Many models use depth gauges or indicators, and some support laser or GPS grade control, which is especially valuable for gravity drainage lines and long runs that must hold a consistent depth.
Trencher type affects the depth you can achieve. Walk-behind trenchers generally suit shallow irrigation and low-voltage work. Ride-on trenchers and skid steer trencher attachments reach greater depths for conduit and service lines. Rock wheel and microtrenching machines cut narrow, precise trenches through pavement for fiber and small conduit, typically at shallower depths. Confirm the attachment’s hydraulic requirements against the carrier when you use a skid steer trencher, since insufficient flow reduces cutting performance at depth.
Verify depth during the work, not only at the end. Measure trench depth from the finished surface at regular intervals with a grade rod, tape, or laser receiver, and record the readings. Check more often near crossings, transitions, and changes in surface material. Correct shallow sections before the utility goes in, since fixing depth after installation means pulling the line and recutting.
Key takeaway: Choose a trencher whose rated depth comfortably exceeds your deepest requirement, understand the project’s depth tolerance, use reliable depth control, and measure trench depth at regular intervals throughout the run.
Locate Existing Underground Utilities
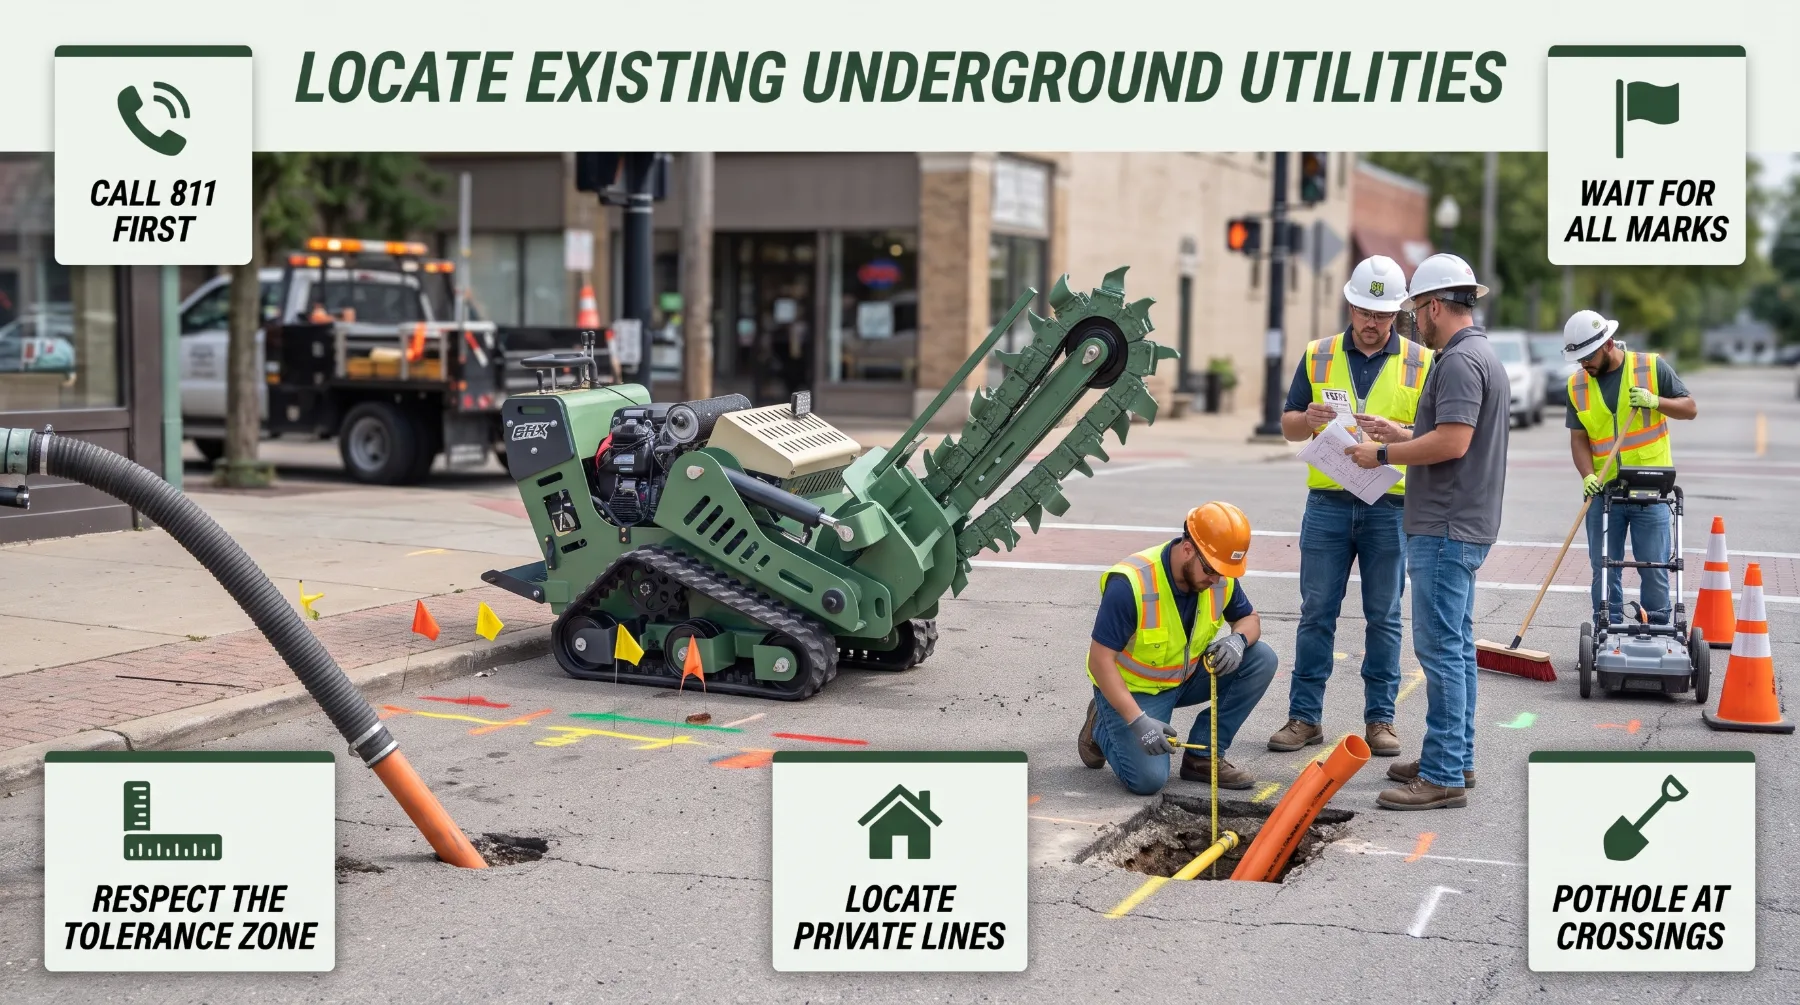
City streets and sidewalks hold some of the densest concentrations of underground infrastructure anywhere. Water mains, sewer lines, gas services, electrical feeders, street lighting circuits, traffic signal cables, telecommunications ducts, fiber, and storm drains often run side by side and cross one another at varying depths. A trencher chain cuts quickly and gives almost no warning before it strikes a buried line. Accurate locating is the most important safety step in any urban trenching project.
Use the one-call notification process before every excavation. In the United States, contact 811 or your state’s one-call center within the required notice period, which commonly ranges from two to three business days depending on the state. Provide accurate dig site information, including the full trench route. Wait until every notified utility has marked its lines or confirmed it has no facilities in the area, and confirm the positive response through the one-call system where your state provides one. Keep the ticket number on site, follow its expiration date, and request a refresh if work extends beyond it.
Understand the marks and their limits. Utility locators use a standard color code, including red for electric, yellow for gas and oil, orange for communications, blue for potable water, and green for sewer and drainage. Marks show the approximate horizontal location of a line, not its depth. Each state defines a tolerance zone on either side of the mark, often around 18 to 24 inches, within which mechanized excavation is restricted. Within that zone, expose the utility by hand digging or approved non-destructive methods such as vacuum excavation before trenching nearby.
Remember that one-call locates don’t cover everything. Private lines, such as service connections on private property, parking lot lighting, irrigation, and building-to-building feeds, are usually the property owner’s responsibility. Hire a private utility locating service for these lines. Abandoned utilities may not be marked at all, and records in older urban areas can be incomplete or inaccurate. Treat every unmarked line as live until it is positively identified and confirmed safe.
Pothole at critical points. Before trenching, use vacuum excavation or careful hand digging to expose utilities at every crossing and wherever the planned trench runs parallel and close to a marked line. Record the depth and type of each exposed utility. That information confirms whether your planned depth will clear existing services or whether the design must change. Where the trench must cross beneath or above an existing line, follow the required vertical and horizontal separation distances set by the utility owner and local regulations.
Respond immediately to any contact. If the trencher strikes, scrapes, or exposes damage to any utility, stop work and notify the utility owner. If a gas line is damaged or you smell gas, evacuate the area, keep ignition sources away, and call 911 and the gas company from a safe distance. Never attempt to repair a damaged utility yourself, and never backfill over a damaged line, even if the damage appears minor. Brief every crew member on these procedures before work begins.
Key takeaway: Contact 811 before digging, wait for all marks, respect the tolerance zone, locate private lines separately, pothole at crossings and close parallel runs, and stop work immediately after any utility contact.
Consider Trench Width and Installation Clearance
Depth is only one dimension of a well-planned trench. Width decides whether the crew can place the utility correctly, install the required bedding, achieve proper compaction, and meet separation requirements. In urban construction, width also affects pavement restoration costs, spoil volume, and how much of the sidewalk or roadway must be closed.
Start with the utility itself. The trench must be wide enough for the pipe or conduit’s outside diameter, any couplings or bells, and the bedding and backfill material specified around it. Many pipe installation standards call for a minimum clearance on each side of the pipe so bedding can be placed and compacted properly under the pipe’s haunches. Conduit banks with multiple ducts need room for spacers and, in some cases, concrete encasement. Fiber and small conduit installed by microtrenching use much narrower cuts, but they still need enough width for the duct and the specified fill material. Choose a suitable trencher for the job based on the required trench width, digging depth, utility type, and ground conditions.
Where multiple utilities share a trench, width must allow the required separation between them. Power and communication lines, for example, often need defined horizontal or vertical spacing, and some owners prohibit shared trenches entirely. Confirm joint trench requirements with each utility owner before setting width. Warning tape, tracer wire, and locating aids also need to be placed at the specified depth above the utility, so plan for them during backfill.
Avoid excavating beyond the project dimensions without approval. A trench that is too narrow complicates installation and makes proper bedding impossible. A trench that is too wide increases excavation time, spoil volume, backfill and compaction work, and pavement restoration area, all of which raise costs. On urban streets, extra width can also undermine adjacent pavement, curbs, sidewalks, and building foundations. Many right-of-way permits limit trench width and charge restoration fees based on the disturbed area, so stay within the permitted dimensions.
Match the trencher’s cutting width to the specification. Trenchers offer a range of chain widths, and the chosen width should produce the required trench in a single cut wherever practical. Check that the boom, chain, and teeth are configured for the target width, and remember that worn outer teeth can narrow the trench gradually. Loose soil that sloughs from the walls widens the trench and leaves debris on the bottom, so clean the trench bottom before placing bedding.
Key takeaway: Size trench width for the pipe or conduit, bedding, separation distances, and installation work, stay within permitted dimensions, and plan protective systems before any worker enters the trench.
Plan Spoil Handling and Work-Zone Safety
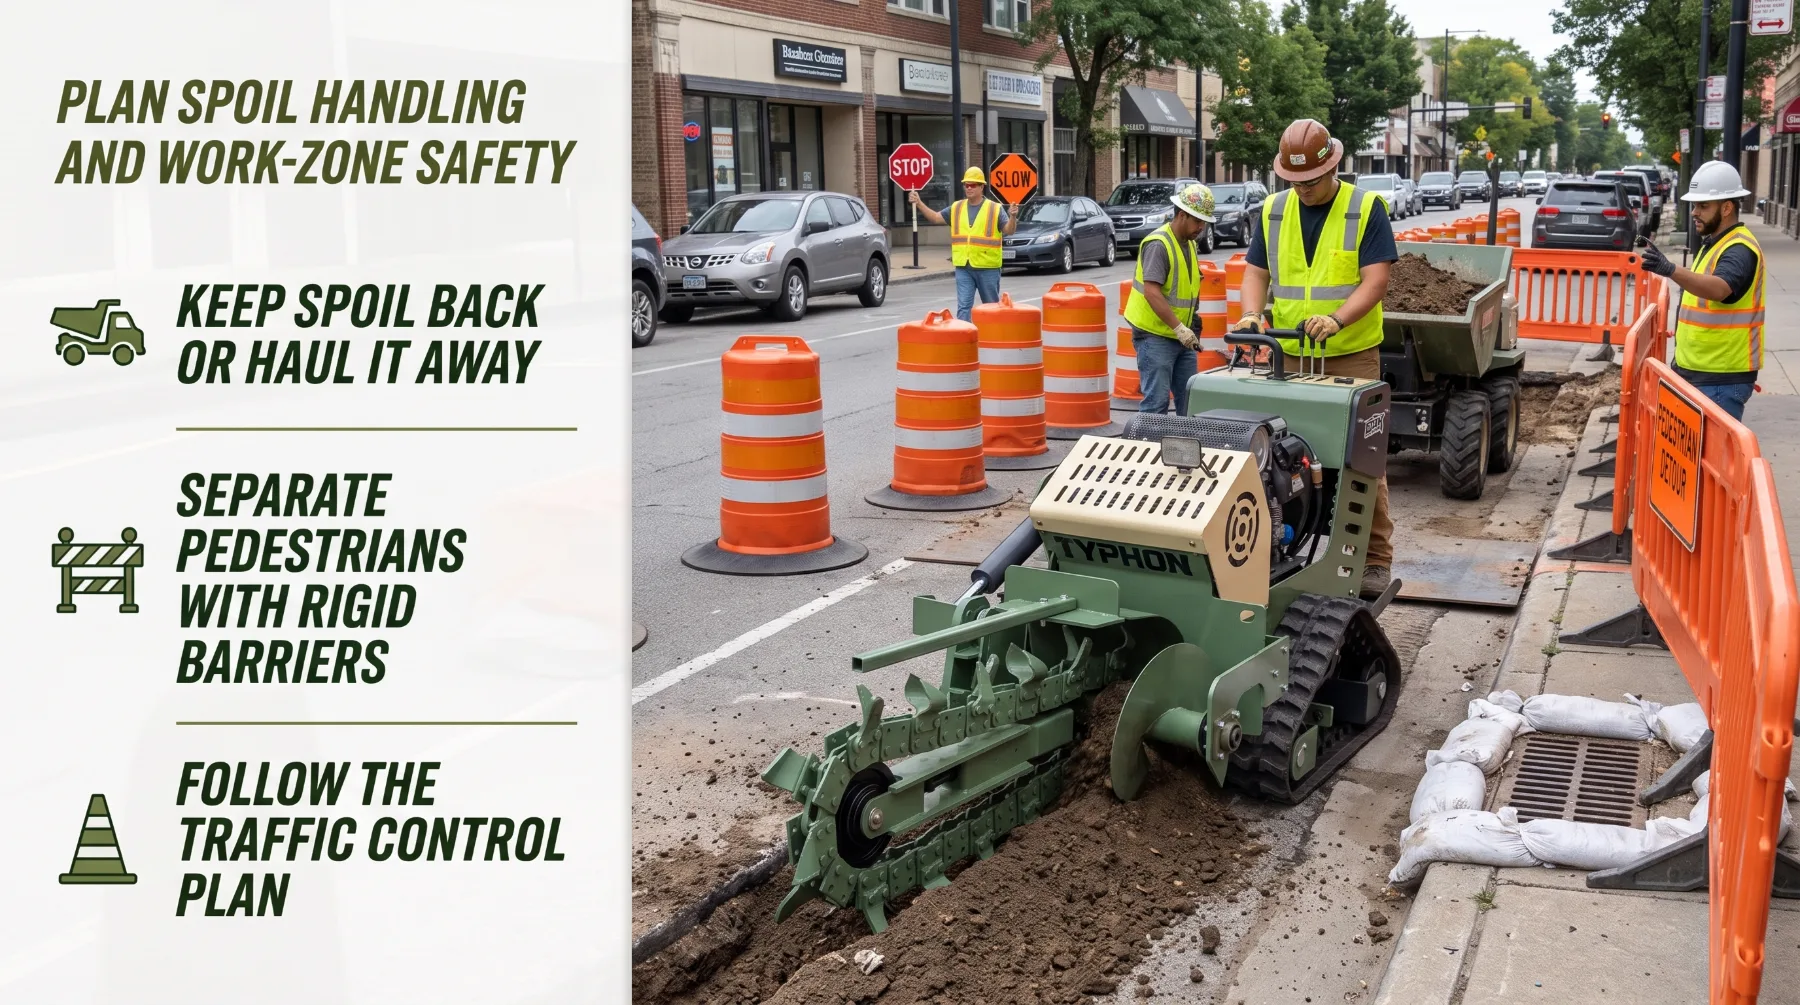
Urban trenching sites rarely have room to spare. Sidewalks, parking lanes, and traffic lanes must often stay partly open, businesses need access, and pedestrians, cyclists, and vehicles pass within a few feet of the work. Careful planning for spoil, equipment movement, and public protection keeps the project moving and keeps everyone on and around the site safe.
Protect pedestrians. Install barriers that separate pedestrians from the trench, spoil, and equipment, using rigid, continuous barricades rather than tape alone wherever people pass close to the work. When a sidewalk must close, provide a safe, accessible alternate route and clear signage directing people around the work zone. Accessible routes should accommodate wheelchairs, strollers, and people with visual impairments. Cover or barricade open trenches at the end of each shift, and use steel plates rated for the expected traffic loads where trenches must remain open beneath vehicle or pedestrian paths. Secure plates so they can’t shift.
Set up traffic control. Work in or near roadways requires a traffic control plan that follows the Manual on Uniform Traffic Control Devices, or MUTCD, and any additional requirements in your right-of-way permit. That plan typically includes advance warning signs, channelizing devices, lane closures, and flaggers where needed. Workers near traffic should wear high-visibility apparel that meets the applicable standard. Schedule work that requires lane closures during permitted hours, and coordinate with local authorities, transit agencies, and emergency services when routes are affected.
Manage equipment movement inside the work zone. Define travel paths for the trencher, haul equipment, and delivery vehicles, and keep ground workers out of those paths. Use a trained spotter when visibility is limited or equipment operates near pedestrians, traffic, or structures. Keep an exclusion zone around the trencher boom and chain, since rocks and debris can be thrown from the cut. Never allow anyone to step over or reach near a moving chain.
Keep the site organized throughout the day. Store pipe, conduit, and materials neatly within the work zone, clear debris from sidewalks and streets regularly, and sweep pavement before reopening it to traffic. Control dust and noise according to local ordinances. Hold a short safety briefing at the start of each shift to review the trench route, marked utilities, spoil plan, traffic control setup, and emergency procedures, and update the plan as work progresses along the street.
Key takeaway: Plan spoil removal before cutting, keep spoil back from the trench edge, separate pedestrians with rigid barriers and accessible detours, follow an MUTCD-based traffic control plan, and keep equipment and workers in clearly defined zones.
Conclusion
Trencher cutting depth for urban utility work should match project drawings, utility owner specifications, and permit requirements. Choose a machine with sufficient rated depth and the right cutting chain for pavement, compacted fill, clay, gravel, or rock. Trench width must also accommodate the utility, bedding, and required separation without unnecessary excavation. Before cutting, arrange 811 and private utility locating, pothole at crossings, and respect tolerance zones. Plan spoil handling, pedestrian protection, barriers, and traffic control as part of the work setup. Review the required depth and width for each section, then compare them with written specifications for the exact trencher configuration. Careful planning helps produce accurate trenches, protect existing infrastructure, and keep crews and the public safe.
Frequently Asked Questions
How deep should a utility trench be?
The required depth depends on the utility type, installation method, location, project specification, and applicable local requirements. Electrical, water, gas, telecommunications, and drainage lines each follow different standards, and depth may increase beneath roadways or at crossings. Always confirm the required cover depth and tolerance with the drawings, utility owner, and permitting agency.
Is a trencher’s maximum depth always achievable?
Not in every condition. Published maximum depth reflects favorable conditions. Hard soil, pavement, debris-filled fill, uneven surfaces, overhead clearance, machine setup, and worn teeth can all reduce usable depth. Choose a trencher with practical margin beyond your deepest requirement, and measure depth regularly during the work.
Why is utility locating important in urban areas?
Urban streets contain dense networks of water, gas, electric, telecommunications, and drainage lines, often close to the planned trench and at varying depths. Contacting 811, locating private lines, and potholing at crossings help prevent utility strikes that can cause injuries, service outages, and costly repairs.
Should trench width be considered alongside depth?
Yes. Width must provide room for the pipe or conduit, bedding, required separation from other utilities, and installation work. A trench that is too narrow prevents proper bedding, while one that is too wide increases excavation, backfill, and pavement restoration costs and can undermine nearby surfaces.